Ever found yourself stranded on the golf course with a dead cart or maybe you’re ready for a perfect day on the golf course, but your golf cart won’t start. It’s a frustrating scenario many golfers face, with up to 70% of breakdowns linked directly to battery problems.
It’s not only a nice-to-have ability to test your golf cart battery; it’s necessary to make sure your vehicle functions properly and keeps you strong in the game. Now, it is time to look at the last process of testing a golf cart battery, you can be sure you won’t be caught off guard on the green ever again.
Table of Contents
ToggleWhy Is Testing A Golf Cart Battery Important?
The reasons for Testing a golf cart battery are as follows. Firstly, it ensures reliability. I understand that a maintained battery ensures that the cart does not break down in the middle of the course which is very inconvenient. Regular testing can identify issues early, such as low voltage or acid stratification, to prevent further damage and costly replacements. Additionally, it enhances safety.
Battery power is one of the key determinants of the cart’s efficiency and durability. For example, a battery that is physically capable of providing 100% of its rated power, but is currently drained to 20% of its maximum can cut the range of your cart by almost 50%, if not more. However, ordinary consistent testing and maintenance will make the battery last longer up to 3 years, and will also be economical. In other words, testing is a preventive measure that pays off in terms of performance, price, and, last but not least, psychological comfort.
Tools Required For Testing Golf Cart Batteries

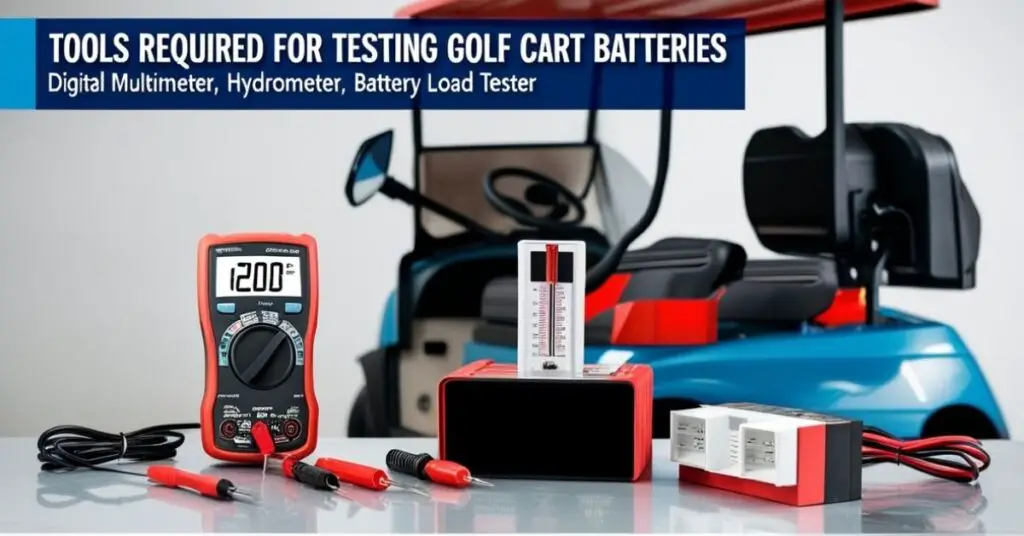
For a battery repair, you will need some of the following tools In order to have a well functioning golf cart battery. Each of these is critical in diagnosing different aspects of your battery’s health.
Digital Multimeter
A digital multimeter is a must-have for any battery tester golf cart toolkit. t measures the voltage across the battery terminals, helping you determine the state of charge. By connecting the multimeter to the battery terminals, you can quickly identify if a battery is fully charged, partially charged, or in need of a recharge. or if it’s time for a replacement. A multimeter can also detect issues like poor connections or faulty cells, making it a versatile instrument for routine checks and troubleshooting.
Hydrometer
A hydrometer measures the specific gravity of the electrolyte solution in your battery cells, which helps assess the battery’s state of charge and overall health. This tool is especially useful for lead-acid batteries. By drawing a small sample of the battery fluid into the hydrometer, you can compare the readings against standard values to determine if the battery cells are functioning correctly. Uneven readings across cells can indicate problems like sulfation or stratification.
Battery Load Tester
A battery load tester evaluates the battery’s ability to hold a charge under a load. It simulates the demand placed on the battery during normal use, providing a clear picture of its performance. This test helps identify batteries that might show full charge but fail under the stress of powering your cart. By applying a load equal to your cart’s normal operating conditions, the golf cart battery tester can reveal hidden weaknesses in the battery. If the voltage drops significantly during the test, it’s a clear sign that the battery might not be reliable.
These tools are essential for a comprehensive assessment of your golf cart battery’s health, ensuring you catch problems early and maintain optimal performance.
Also Explore: How To Reset Golf Cart Battery Meter For Accurate Monitoring
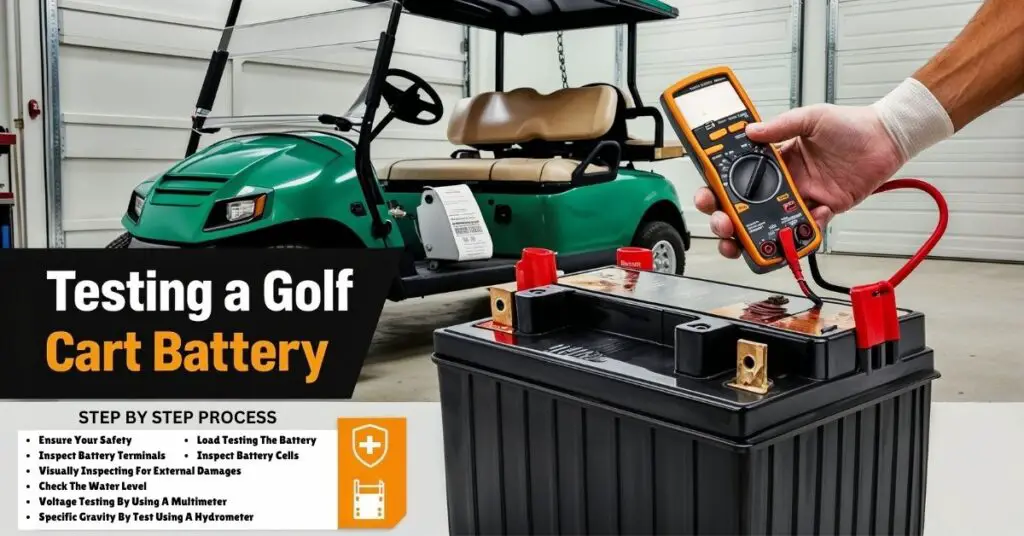
Step-by-Step Process Of Testing a Golf Cart Battery

Ensure Your Safety
First of all, Safety is one of the most crucial aspects, which should be considered before Battery testing. Ensure the use of face shields or other appropriate protective equipment such as gloves and safety goggles to protect yourself from both acid and electricity. Ensure that the golf cart is out of operation and preferably parked in a well-ventilated area as charging the batteries produces hydrogen gas. However, it will be safer to remove the negative terminal first followed by the positive terminal to eliminate short circuits.
Inspect Battery Terminals
The first thing that has to be done in testing a battery is deterring the terminals. Additionally, Look for signs of corrosion or a white, powdery substance that might compromise the wires’ safety. Incorrect terminal can cause the flow of electricity to be affected and could influence the battery’s performance. Remove the corrosion using baking soda and water, if one uses a brush avoid applying force on the terminals since they may break it. Wash with water and wipe dry before moving on to the next stage.
Visually Inspect for External Damages
After checking the terminals, a visual inspection can reveal signs of battery issues. Check for cracks, leaks, or bulges in the casing. These indicators suggest internal damage and potential battery failure. Look for any signs of physical damage and warrant a replacement, as they can compromise the battery’s integrity and safety.
Check The Water Level
Golf cart batteries are mostly lead-acid batteries that demand frequent water level maintenance. Unlock the battery caps and make sure the water level has reached the battery’s plates. Its level should be refilled with distilled water only if necessary because tap water harms the battery with its impurities. Ensure that the water level remains slightly lower than the fill well in order to have the best performance out of your baptistery.
Also Explore: Understand The Value of Golf Cart Battery Watering Systems
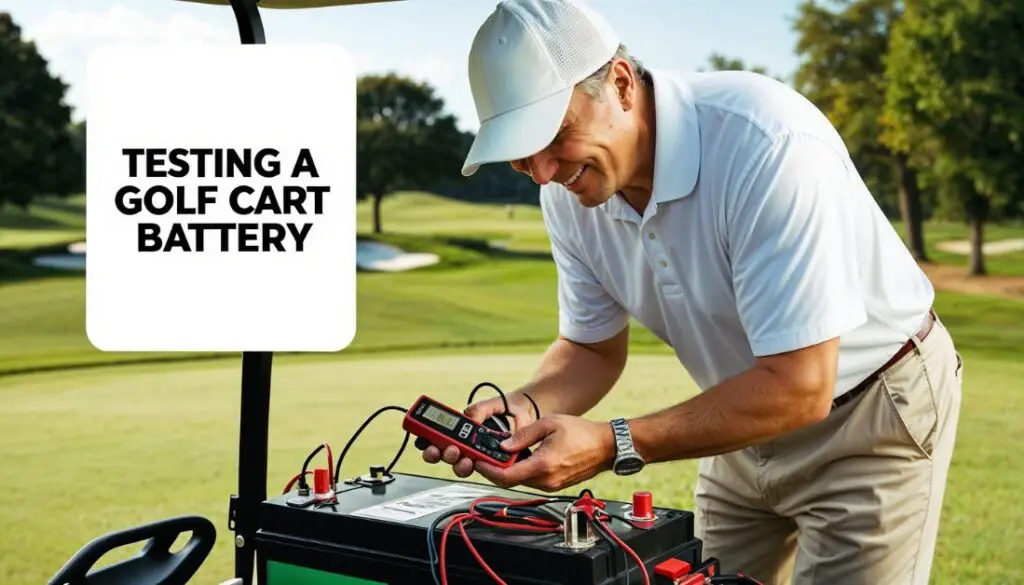
Voltage Testing Using A Multimeter
Battery testing can be done using a multimeter that is quite useful in measuring the voltage of a battery. Switch your digital multimeter to the DC voltage mode and the probes to the battery ‘+’ and ‘-‘ the red probe is on the positive terminal and the black probe is on the negative terminal. Depending on the type of battery, a fully charged golf cart battery voltage should read around 12. 6 to 12. 8 volts for a 12 volts battery. However, voltage can only give some information about the state of the battery and is not enough to assess the battery’s health.
Specific Gravity Testing Using A Hydrometer
To test the specific gravity of the battery’s electrolyte, you’ll need a hydrometer. This test helps assess the state of charge and the health of each cell. Insert the hydrometer into each cell and draw enough liquid to float the indicator. A reading between 1.265 and 1.299 indicates a fully charged cell. If the readings below this range indicate a need for recharging, it may be time to replace the battery.
Load Testing The Battery
The load testing measures how much voltage the battery can maintain while in use, close to its real working conditions. In order to perform a golf cart battery load testing, use a golf cart battery load tester that applies a load to the battery knowing the load. Connect the tester according to its instructions. Apply the load for the desired time, approximately 15 seconds. A healthy battery should preserve a minimum of 9. 6 V under load for a 12 V battery. If it goes far from this point, then it is advisable that the battery be replaced by a new one.
Inspect Battery Cells
Finally, inspect the battery cells for signs of sulfation, which is normally a hard white or gray formation on the plates. Sulfation happens when the battery is left in a discharged condition for a long period and significantly affects the efficiency of the battery. If sulfation is present, the battery may require professional services or even replacement.
The above steps will ensure that thorough and effective golf cart battery testing processes, keeping your golf cart battery in top condition and ready for your next round of golf.
Tips For Maintaining Healthy Golf Cart Batteries

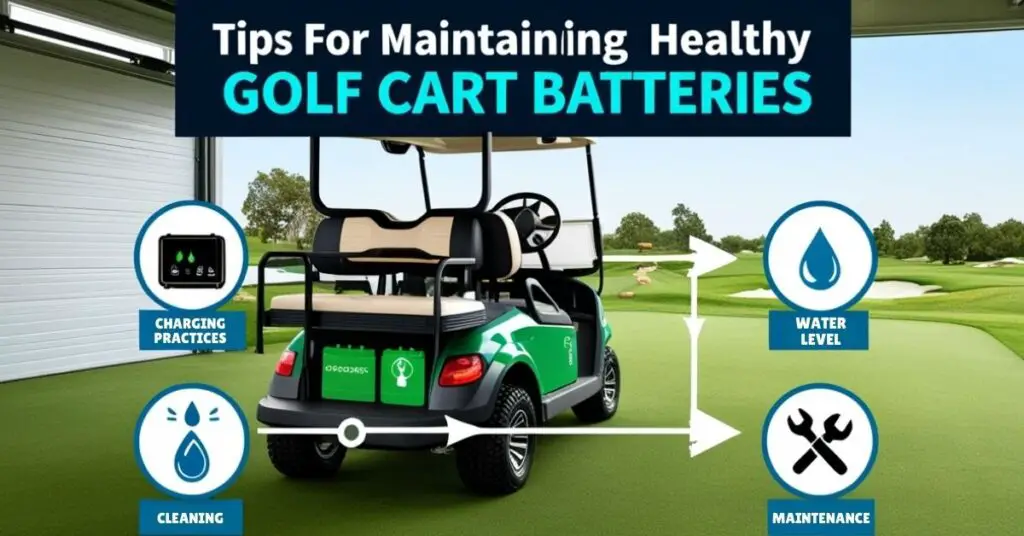
It is important that you take your time and do all you can to ensure that your golf cart batteries are healthy and will offer your cart its optimum performance and longevity. Maintenance is not only good for enhancing performance but is also effective in preventing regular replacements. To maintain your golf cart batteries here are some tips from experts;
Regular Cleaning
First of all, it is necessary to clean the batteries from any corrosion or dirt that might penetrate their construction. About this, it is recommended that we regularly inspect and clean the terminals using a baking soda solution to avoid accumulation that can tend to affect the current flow. Ensure that the terminals of the battery are clean and free from any kind of rust or dirt accumulation.
Monitor Water Levels
After that, keep monitoring the water levels in your batteries. Electrolytes in lead-acid batteries should be checked regularly and maintained just below the fill well. Fill the cells with distilled water instead of tap water, which contains elements that can harm the battery. After charging, enable the electrolyte to swell; consequently, check the water levels. There is a blotch in the cells, and it is important to avoid adding too much acid to prevent an overflow.
Proper Charging Practices
Another important aspect is proper charging practices as it affects the outcome in a big way. Always recharge with the type of battery charger that is used on golf cart batteries and never overcharge them as this shortens the battery life. The charging time should be according to the manufacturer guidelines and avoid letting the battery discharge completely before recharging.
Also Explore: Important Reason Of Why Won’t My Golf Cart Charge Properly
Regular Inspection
Check your batteries regularly to make sure they do not have any problems; if they do then replace them immediately. The following signs should be considered: cracks, leaks, and/or bulges in the insulation casing of the pipe. See cables that are loose or have frays, and make sure they are properly replaced. Regular inspections will ensure that you notice a problem early before it develops into a major problem, thus, maximizing battery life.
Temperature Management
Last but not least, park your golf cart in a shaded or an area that is cool and well drained to prevent it from rusting. Temperature conditions that are either very hot or very cold are not favorable for batteries and these will affect the battery performance and life span. In cases where the cart has to be stored for a longer time, it is recommended that they check the battery charge and top it off as necessary to keep it in good condition.
So, following the above mentioned tips will ensure that the golf cart batteries have a longer span of durability and efficiency for your golfing needs.
Conclusion
Maintaining and testing a golf cart battery is a crucial aspect of avoiding breakdowns at the golf course. Therefore, when inspecting the battery, common things such as checking the water levels, cleaning the battery, and using the right tools such as the digital multimeter should be done to ensure you can catch any issues early and extend your battery’s life.
Two separate important procedures are related to taking care of the battery: charging practices and inspecting the battery when it is damaged. It is recommended to store your golf cart in a shaded area that also shields it from the intense heat of either the sunlight or rain.
In the end, routine maintenance not only ensures that your golf cart is ready for the next game but also helps you save money. It also frees up your time so you can spend more time on the golf course.
FAQ’s
You can determine if your golf cart batteries are bad by checking for these signs:
- Low Battery Voltage: If with a multimeter the reading was less than 12. 6 volts means that the battery could be weak or is already dead.
- Poor Performance: Your golf cart’s batteries may be going bad if you are finding it hard to start the cart or if the cart does not last long on a single charge.
- Corrosion or Leaks: Visible corrosion on terminals or electrolyte leaks indicate battery issues.
- Uneven Specific Gravity: Significant differences in specific gravity readings across cells can signal a bad battery.
- Sulfation: White or gray coating on battery plates suggests sulfation, often a sign of a failing battery.
If you notice any of these symptoms, it’s a good idea to test the battery thoroughly or consult a professional.
Generally, a golf cart battery usually runs for 4 to 6 years given the rate of usage and kind of battery together with proper maintenance. However, they can last longer through proper maintenance and care.
Signs of a faulty golf cart battery include:
- Difficulty Starting: The golf cart struggles to start or has a sluggish response.
- Short Range: Reduced distance traveled on a single charge.
- Low Battery Voltage: Voltage readings below the normal range.
- Corrosion or Leaks: Visible corrosion on terminals or leaks from the battery.
- Uneven Charge: Significant differences in charge levels between cells.
- Sulfation: White or gray coating on battery plates.


