
When I first upgraded my golf cart battery wiring, I was in troubled to find myself in the middle of the task and facing the possibility of a costly mistake. Like any other golf cart user, I understood that wrong wiring of batteries was a major factor affecting such cart’s performance, increasing the frequency of breakdown, and at times posing a major danger of electric shock. It is surprising but even in the case of golf carts, more than 30% of breakdowns are linked with battery problems.
Golf cart battery wiring is essential to ensure that your cart is well operated without any form of issues. If you are interested in making your golf cart battery last longer or you just don’t want to deal with those frustrating breakdowns, knowing how to wire your battery the right way is the right start. So, let’s look into more detail on golf cart battery wiring and make sure your cart is always up and running.
Table of Contents
ToggleWhy Is Proper Golf Cart Battery Wiring Important?
Battery connection to the golf cart should be done correctly because of the following reasons.
First of all, proper wiring serves the purpose of making your golf cart to be as effective as possible and ensuring its optimal performance. Improper connections might cause insufficient power supply to your cart and as a result slow motion or improper motion of your cart.
Secondly, wiring plays an important role in the longevity of your batteries. Batteries that are wired wrongly can either be charged excessively or not charged at all; this shortens their duration greatly.
Finally, proper wiring decreases all chances of getting a dangerous shock because the wire is correctly and safely wired. According to specialists, improper wiring leads to short circuiting, overheating of the wires or even leading to fire and this is dangerous to the user.
Golf Cart Battery Wiring Configurations
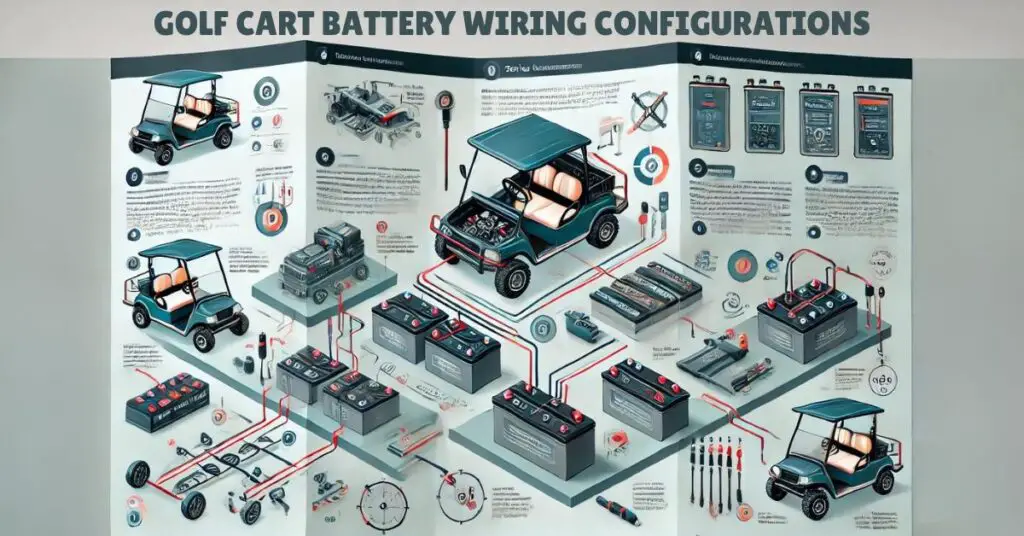
There are two main structures for wiring golf cart batteries: series and parallel. Each has special advantages and advantages based on the intended result.
Wiring in Series
The batteries are wired end to end in a series way. This means that one positive terminal of the battery is connected to the next battery’s negative terminal, and so on. The main benefit of series battery wiring for golf cart is that it raises the battery system’s voltage while maintaining the same capacity (amp-hour rating).
For instance, if you connect 6-volt batteries in series, the total voltage becomes 36v (Volt), which is common for many golf carts. This setup is beneficial for delivering the high voltage needed to power the cart’s motor. However, the capacity remains the same as that of a single battery, so the cart will run as long as the capacity of one battery allows.
Also Read: 6 Volt Vs 8 Volt Batteries Which Is Best For A Golf Cart?
Parallel Wiring
Parallel wiring, on the other hand, involves connecting golf cart batteries all the positive terminals of the batteries together and all the negative terminals together. This configuration increases the overall capacity (amp-hour rating) of the battery pack while keeping the voltage the same as a single battery.
For example, if you connect four 12 volt golf cart batteries in parallel, the total voltage remains 12 volts, but the capacity is the sum of all the individual batteries’ capacities. This setup is advantageous for extending the run time of the golf cart, allowing it to operate longer between battery charges. However, it does not increase the voltage, which might be necessary for certain golf cart models.
You can extend the life and performance of your golf cart batteries by understanding and properly using these wiring configurations.
Also Explore: Essential Golf Cart Battery Charging Tips You Need To Know
How To Disconnect Golf Cart Batteries For Wiring
Disconnecting your golf cart batteries correctly is essential for safety and to prevent damage to the batteries or the cart’s electrical system. Follow these steps carefully:
Step 01: Turn It Off
Always start by turning off your golf cart. Ensure that the key is removed to prevent any accidental start-ups.
Step 02: Locate The Battery Compartment
Next, locate the battery compartment. This is usually under the seat or in a dedicated battery bay. Familiarize yourself with the layout and position of each battery.
Step 03: Identify The Negative Terminal
Identify the negative terminal of the first battery. The negative terminal is typically marked with a minus (-) sign or black color. Knowing this helps you avoid confusion during the disconnection process.
Step 04: Loosen The Nut Or Bolt From Negative Battery Cable
Using a wrench or appropriate tool, loosen the nut or bolt holding the negative battery cable. Be careful not to touch any other metal parts with your tool to avoid short circuits.
Step 05: Completely Remove The Negative Battery Cable From The Terminal
Once loosened, carefully lift the negative battery cable away from the terminal. Secure the cable away from the battery to prevent accidental reconnection.
Step 06: Repeat steps 4 and 5 For The Positive Terminal
Finally, for the positive terminal, repeat steps 4 and 5. Usually, the positive terminal is indicated by the color red or a plus (+) sign. Before making any wiring adjustments, make sure both cables are unplugged and secured.
Here is the process that should be followed to ensure a safe disconnection procedure of a golf cart for wiring changes or any kind of maintenance. That is why special care should be taken in handling such equipment and also safety equipment put in place to prevent any mishap or loss.
Step-By-Step Wiring Guide For Golf Cart Battery
To have an optimum performance and a long life span your golf cart battery must be wired a golf cart battery in the right manner. Here are the checklists of some recommended procedures:
Step 01: Open The Battery
First, open the battery compartment. This usually involves lifting the seat or accessing a dedicated battery bay. Make sure you have clear and safe access to all the batteries.
Step 02: Remove The Black Negative Cable
Next, locate the black negative cable on each battery. Using a wrench, carefully loosen and remove the cable from the negative terminal. Secure the cable away from the terminal to prevent accidental reconnection.
Step 03: Lift The Batteries
Carefully lift each battery out of the compartment. Batteries can be heavy, so use proper lifting techniques or get help if needed. This step is crucial to avoid injury and damage to the batteries.
Step 04: Place The New Batteries
Place the new batteries into the compartment. Make sure they are positioned exactly as the old ones were, maintaining the same orientation. This ensures proper connection and performance.
Step 05: Reconnect The Battery Cables
Reconnect the battery cables, starting with the positive terminals. Attach the positive cable to the positive terminal (usually marked with a plus sign or red color). Tighten the nut or bolt securely to ensure a solid connection.
Step 06: Connect The Reverse Positive Cable
Finally, connect the reverse positive cable, which links the positive terminal of one battery to the negative terminal of the next in a series configuration. Ensure all connections are tight and secure. Double-check all connections for accuracy before closing the battery compartment.
For a golf cart owner, proper golf cart battery wiring involves connecting the golf cart battery cable and golf cart cables to form a battery bank, ensuring the cable size is suitable, with the cable from the first battery linking to the last battery terminal, the main positive terminal, and the negative cable from the first 12-volt batteries for optimal performance on the golf course, whether using a club car or other models
By following these steps, you can confidently and safely wire your golf cart batteries, ensuring reliable performance and extending battery life.
Conclusion
Although upgrading the golf cart battery wiring may initially seem like a difficult process, it is quite a manageable task that when done will significantly strengthen your golf cart. This allows you to smooth out the utilized wire and eliminate problems such as decreased battery life, frequent malfunctions, and even dangerous situations.
However, let me remind you that understanding the difference between the series and parallel wiring connections is also essential, as well as, the right way of handling the disconnection and reconnecting of batteries. With this guide, you can tackle the wiring process confidently, ensuring your golf cart is always ready for a smooth and efficient ride.